


Parts: Available from Maplins and RS components: http://www.maplin.co.uk http://www.rswww.com
1 x 230V / 12V AC 30VA Toroidal Transformer
Maplins: N91AZ (£12.99) RS
Components: 257-4963 (£11.03)
1 X IEC inlet Socket
RS Components: 815-830 (£1.40)
1 x 230v Round Rocker Switch
Maplins: JR97F (£1.49)
4 x stick on Feet
Maplins or RS Components
(search for stick on feet)
1 x Instrument case with chassis
RS Components: 232-926 (£11.93)
1 x 250mA 20mm time delay fuse
Maplins: GL53H (£1.79 for 10)
1 x 20mm Fuse Holder
Maplins: DA61R (£0.19)
2.1mm Power plug
Maplins: HH60Q or HH61R
(£0.49)
Silver solder
NOTE: Maplins and RS components seem
to constantly change their part numbers for some strange reason and Maplins
has got a very annoying habit of discontinuing items. The part numbers
above are active at the time of writing (26/10/02)
Tools:
Soldering Iron
Dremel with attachments
Hacksaw
Electric Drill
20mm Hole cutter
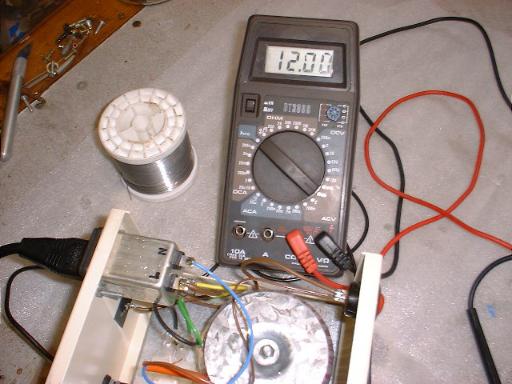
Multimeter
Assorted Files
Screwdrivers
Pliers
Snippers
A steady pair of hands!!

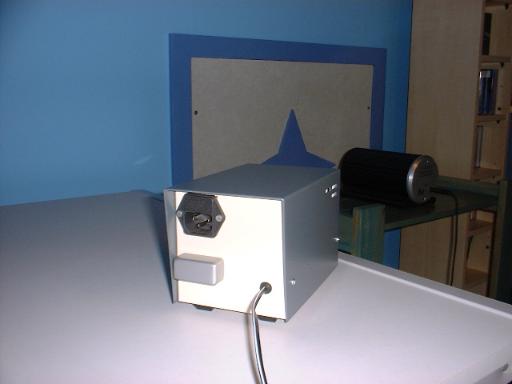
Conclusion:
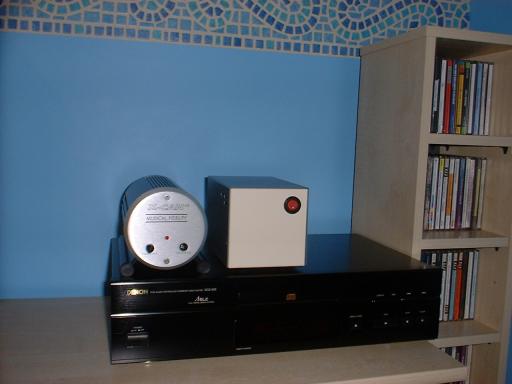
A high quality PSU which substantially improves the sound
quality of the X-Can V2. There was no need to employ regulation as the
PSU circuit inside the X-cans V2 deals with this side of things. It runs
cool, it sounds awesome and it doesn't look too bad either... oh, and
it's got an on / off switch too!
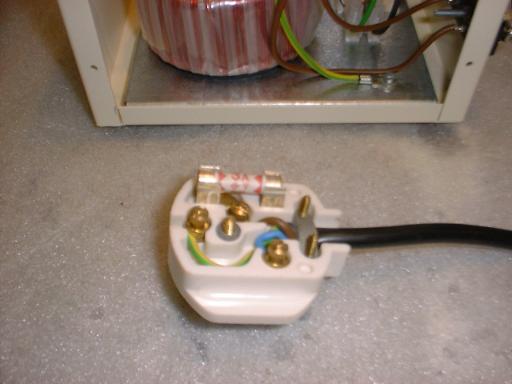
I'll be happy to offer advice to anyone contemplating building this supply and can provide part numbers and suppliers details etc. The IEC filter is on special offer at the moment at Maplins for only £2.99 instead of the normal £10.99 so I don't know how long it will remain at this price.
If you don't know one end of a soldering iron from the other I'll be happy to build the unit for you, please e-mail me if you require this service mcg@vipnet.co.uk
I hope this page has been of interest to you and can strongly recommend this upgrade to anyone owning any X-ponents.
Mike
Some More Pictures
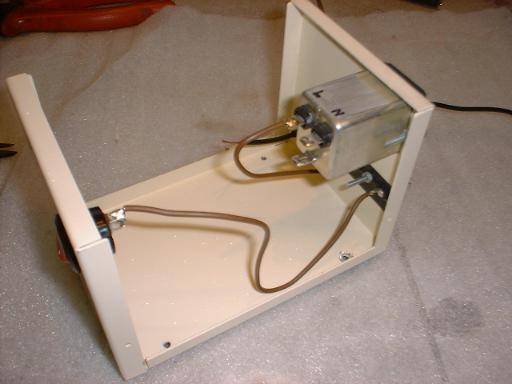
ferrite rings on both input and output leads
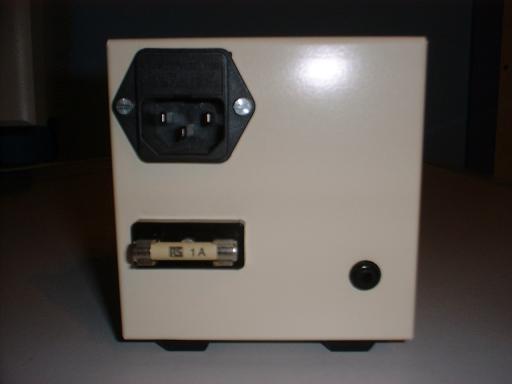
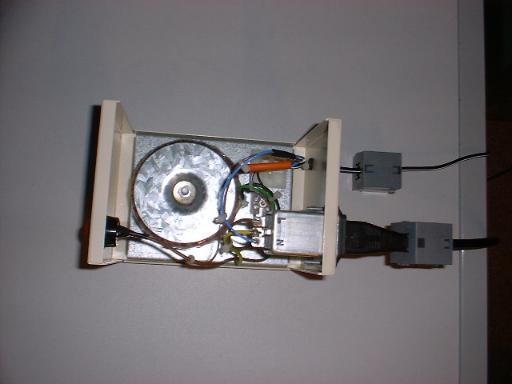
rear view

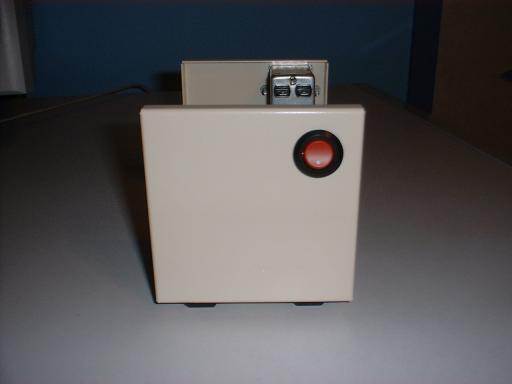
Same size as X-Can V2 but square
Mark 11
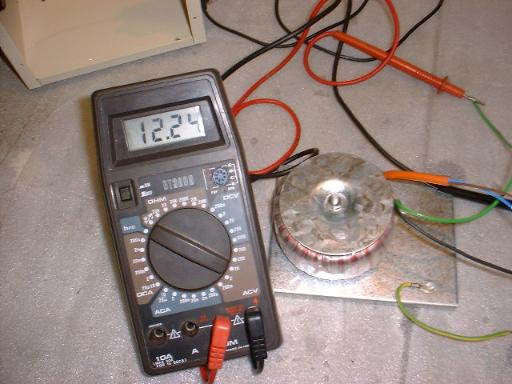
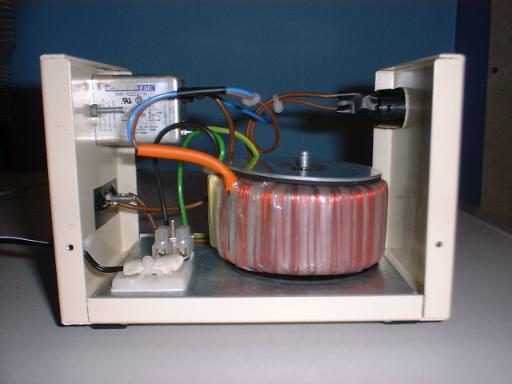
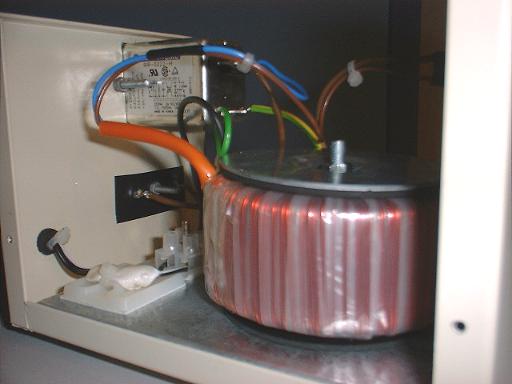
(IMPORTANT UPDATE!!: Further to the details below I have decided to go back to using a Toroidal transformer in place of the EI. The original Toroidal was not very well made and "hummed". I decided to try a NUVOTEM toroidal and have never looked back. I have made 6 of these PSU's with the NUVOTEM to date and they are a super noise free transformer offering superior regulation compared to the EI (typically 12% regulation) and have an extremely low level of radiated magnetic field.
All the other modifications over the mark 1 which are listed below remain unchanged apart from the introduction of the NUVOTEM TALEMA toroidal.
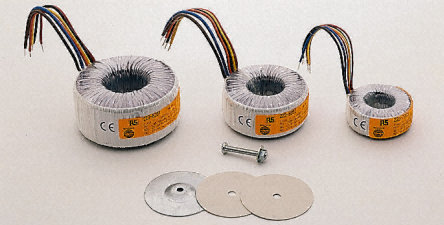
NUVOTEM TOROIDAL USED IN MK11
![]() MARK
11 Pictures HERE!
MARK
11 Pictures HERE!
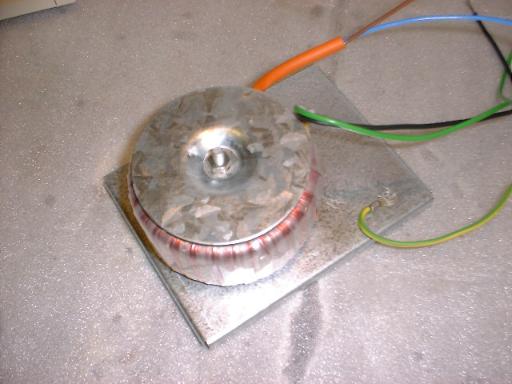
Further to the above I have since replaced the toroidal with an EI laminated 20VA / 12V transformer and have removed the IE inlet filter from the circuit as it actually sounds better without it believe it or not. Here are a few pictures of some of the changes I have made. I have a smaller 20VA / 12V toroidal on order and am going to build a power supply inside a cast iron tube and then fill the tube with epoxy resin, I intend to get it to look as close to the x-psu as possible. The front and rear will be 2 brushed aluminium circles which will actually screw into the resin filled tube.... now that "will" be a truly exotic power supply :-) (Update: Tube PSU put on hold)
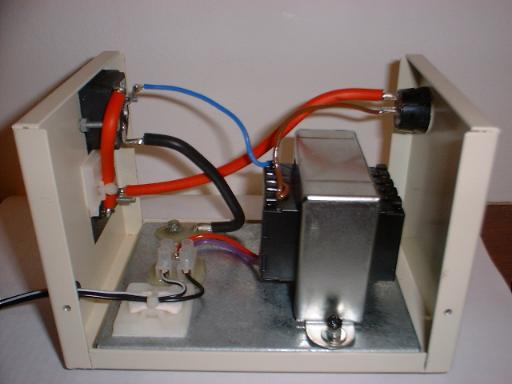
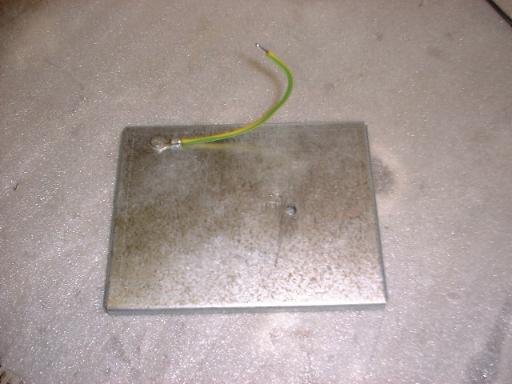
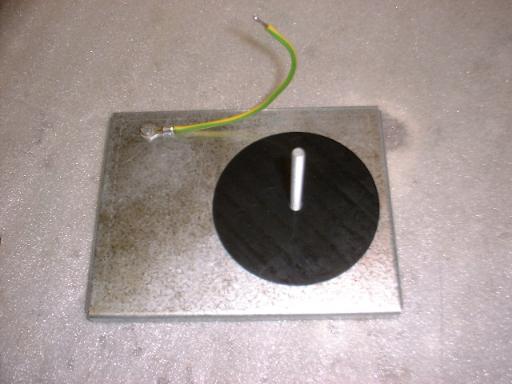
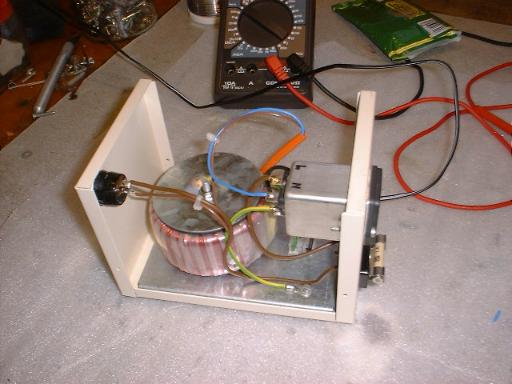
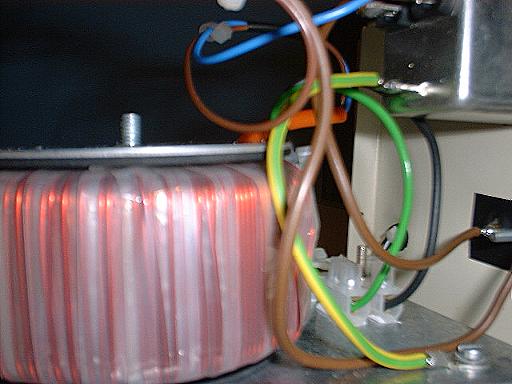
Replaced 50VA /12V toroidal transformer with an "audio grade" 20VA /12V laminated transformer.
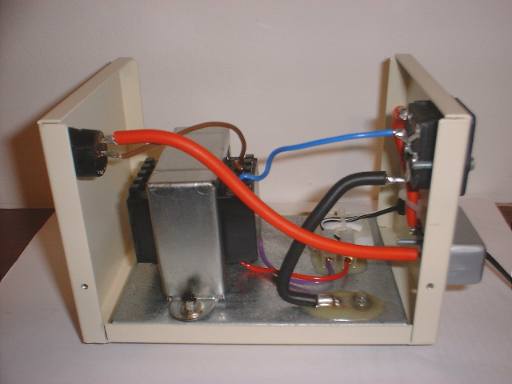
Used higher guage cable and kept lengths as short as possible.
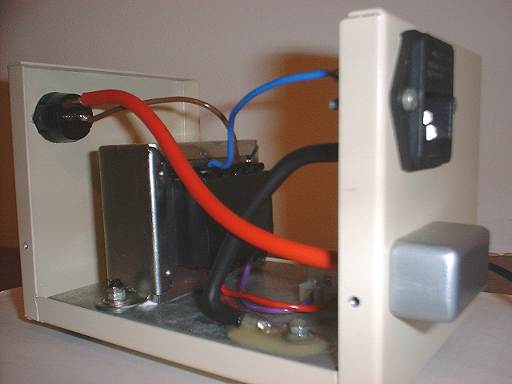
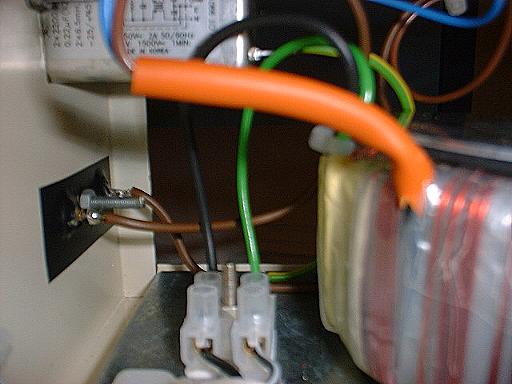
Mounted the transformer on some double sided sticky rubber and bolted it to the chassis. Applied heavy duty silicone sealant to the bolts to stop them loosening. Removed the IE inlet filter and replaced with a standard IE inlet connector.